Make cartridge based handheld using Arduino
How to make cartridge based handheld using Arduino?
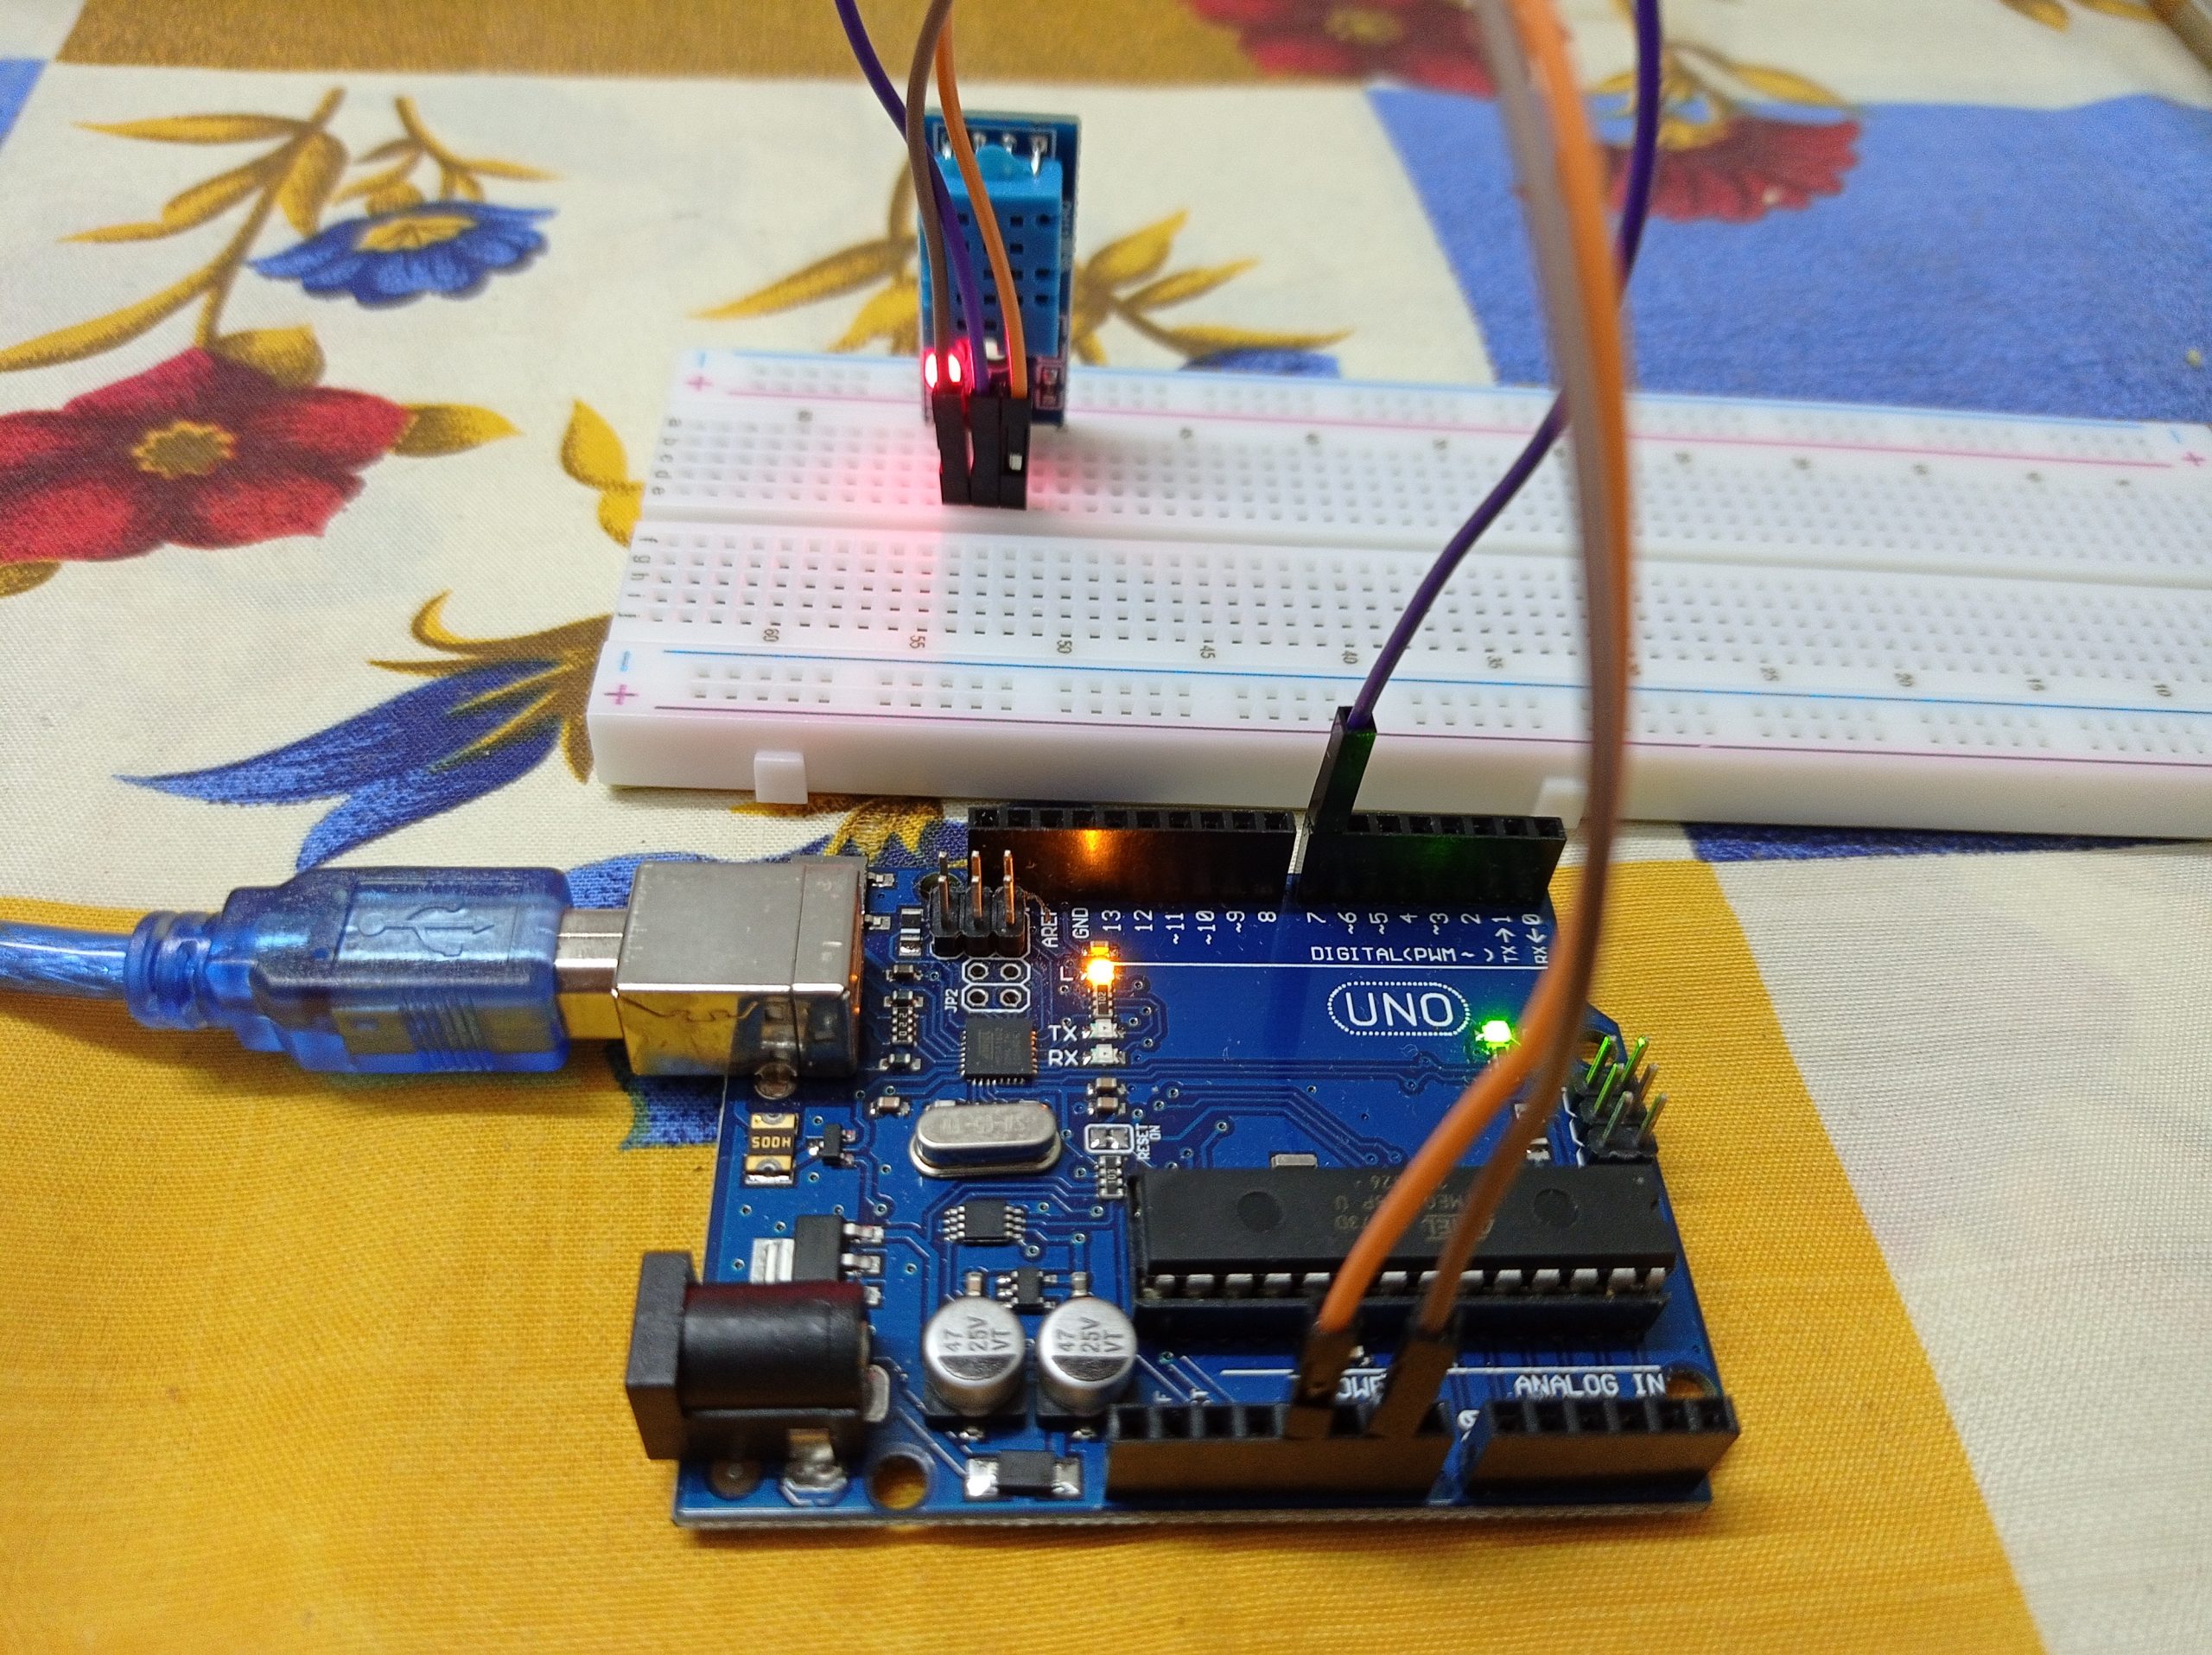
I will be showing you how to make a cartridge based handheld using Arduino.
You will need:
-An Arduino
-A breadboard
-Jumper wires
-A 2.8″ TFT touch screen
-An SD card reader/writer
-An NES cartridge connector
-An NES controller connector
The first step is to solder the NES cartridge connector to the Arduino. Then, connect the SD card reader/writer to the Arduino. Next, connect the 2.8″ TFT touch screen to the Arduino. Finally, connect the NES controller connector to the Arduino.
Now you should have a working cartridge based handheld!
Introduction
If you’re like me, then you’ve probably always wanted to create your own cartridge-based handheld gaming device. The great thing about using Arduino is that it makes this project relatively simple and affordable to do. In this article, I’ll show you how to build your own cartridge-based handheld using Arduino.
One of the first decisions you’ll need to make is what type of display you want to use for your device. There are a few different options available, but the most popular seem to be either LCD or OLED displays. I went with an OLED display for my project, but either one will work fine.
The next step is to gather all of the components you’ll need for your project. For the complete list, please refer to the Arduino website. In addition to the components listed there, you’ll also need a soldering iron and some basic soldering skills.
Once you have all of your components, it’s time to start putting everything together. The first step is to solder all of the header pins onto the LCD/OLED display. Next, you’ll need to solder wires onto the positive and negative terminals of the battery holder. Be sure to use different colors for positive and negative so that you
What will be the required components?
If you want to make a cartridge based handheld using Arduino, you will need the following components:
-Arduino Microcontroller
-TFT LCD Display
-Joystick or Buttons for Input
-Battery Pack
-Cartridge Reader (if using classic game cartridges)
With these components, you will be able to create a fully functioning handheld gaming device that can play classic video games.
Assembly
If you’re looking to create your own cartridge-based handheld using Arduino, there are a few things you’ll need to do in order to get started. First, you’ll need to gather all of the necessary parts and tools. Next, you’ll need to solder everything together according to the provided diagram. Finally, you’ll need to program your device and load it with games.
The first step is to gather the necessary parts and tools. For this project, you’ll need an Arduino board, a TFT LCD screen, a Joystick, buttons, a SD card reader, wires, and a soldering iron. You can find all of these parts online or at your local electronics store.
Next, you’ll need to solder everything together according to the provided diagram. This can be a bit tricky, so be patient and take your time. If you’re not familiar with soldering, there are plenty of tutorials online that can help you out.
Finally, you’ll need to program your device and load it with games. The best way to do this is by using an emulator like RetroPie or Lakka. These emulators will let you play all of your favorite classic games on your new handheld device.
Getting started with Arduino IDE
If you’ve never used Arduino IDE before, don’t worry! It’s easy to get started. In this blog post, we’ll show you how to download and install the Arduino IDE, and then how to open and run a basic sketch.
First, head over to the Arduino website and download the latest version of the IDE for your operating system. Once the download is finished, open up the installer and follow the prompts. Once the installation is complete, open up Arduino IDE.
You should see a blank sketch window like this:
To start, we’ll just blink an LED. First, connect an LED to pin 13 of your Arduino board. If you’re using a breadboard, you can connect one lead of the LED to the ground rail and the other lead to pin 13. Then, copy and paste the following code into your sketch window:
 void setup() {
  // set pin 13 as an output
  pinMode(13, OUTPUT);
 }

 void loop() {
  // turn on pin 13 LED for one second
  digitalWrite(13, HIGH);
  delay(1000);

  // turn off pin 13 LED for one second
  digitalWrite(13, LOW);
  delay(1000);
 }
Now, click the “Upload” button in the top left corner of the IDE. This will compile your code and upload it to your Arduino board. Once it’s done uploading, you should see the LED on your board start blinking!
Connecting the handheld to your computer
If you’re using an Arduino Uno, you’ll need to use a USB cable to connect the handheld to your computer. If you have a Mega, you can use either a USB or serial connection.
Once the handheld is connected, you can open the Arduino IDE and upload your code.
Writing code for the handheld
Assuming you have everything you need to get started (an Arduino, breadboard, wires, etc.), the first step is to write code for your handheld. This will involve using the Arduino programming language and IDE. If you’re not familiar with these tools, there are plenty of resources online to help you get started.
Once you have the basics down, you’ll need to start writing code specific to your handheld. This will include things like button input and output to the screen. Depending on what features you want your handheld to have, the code can get fairly complex. However, there are many existing code examples and libraries available that can help you get started.
With a little patience and perseverance, you can create a fully functioning cartridge-based handheld using Arduino!
Uploading your code to the Arduino board
If you’re new to Arduino, or programming in general, one of the first things you’ll need to do is upload your code to the board. This process is called “burning” your code onto the board, and it’s pretty simple once you know how to do it.
Connect the Arduino board, then open up the Arduino IDE (the software you use to write and upload your code). Once the IDE is open, make sure the correct board and port are selected under the “Tools” menu.
Then simply click the “Upload” button and wait a few seconds for your code to be uploaded. That’s it! Now your Arduino board will run your code whenever it’s powered on.
Testing your game
After you have built your game, it is time to test it out. To do this, you will need to connect your game to an Arduino. First, connect the ground wire from the Arduino to the ground pin on the game board. Next, connect the power wire from the Arduino to the power pin on the game board. Finally, connect the data wire from the Arduino to the data pin on the game board.
Now, open up the Arduino IDE and select the “Blink” example sketch. This will cause the LED on the Arduino to blink when you press the button on the game board. If everything is working properly, you should see the LED blink when you press the button. If not, check your connections and make sure that all of the wires are connected properly.
Once you have verified that your game is working properly, it is time to start playing! Have fun!
