How to control LEDs with any IR Remote on Arduino!
Using remotes daily for TV, AV receiver, air conditioner, etc. Want to build a system of LEDs that can respond to your remote. Then you’re in the correct place. With the use of Arduino, it’s simple. To those who don’t know what an Arduino is. It is a microcontroller that has made lives easier by making it simpler and easier to build a prototype than before. This is also in use by the students in various studies.
Presently, Arduino is being used for various small-scale and large-scale purposes. For the ones who didn’t know what an Arduino was, I would tell you to buy an Arduino starter kit which mostly would have the materials required for this project. Like how the elderly say, nothing would be simple in the beginning. In a corresponding way, even Arduino and its connections would be a bit tough in the starting. I think that this project would help beginners improve their understanding of the code and the connections.
The items required for the project are few resistors, four LEDs of different colors, a breadboard, an IR sensor, an Arduino Uno, and an IR remote.
On to the coding part, there are two pieces of code for this project – one for decoding the IR remote codes and another one for this project. In the first piece of code, we have imported the IR library and then initialized all the variables. Then we have set up the main two methods void setup and void loop. The second piece of the code is also done in the same manner.
Those who have the IR remote codes can skip this part. After doing all the connections properly as per the circuit diagram, you can connect the Arduino board to the USB port, and using the Arduino IDE software you can upload the code given below for decoding IR remote codes. After this note down the IR remote code from the Serial Monitor within Arduino IDE by pressing each button on the IR remote.
After this proceed without making any changes to the connection. Now, edit the main code of the project by placing your IR remote codes in the bolded parts. Finally, you can upload this edited code to the Arduino board via the Arduino IDE software. Now, you can use your IR remote to turn on and off the different LEDs.
Overview – In this project, we will be using an IR sensor and IR remote to turn on and off the LEDs.
Note
You should have IRremote library added to your libraries in order to upload the code. 1K resistors are used in this project. Before you start, you should have IR decoded codes for your remote and make changes to bolded part in the main code respectively. Also check whether all pins are connected in proper positions.
Code for decoding IR remote codes
 #include <IRremote.h>
 int IRpin = 11;
 IRrecv irrecv(IRpin);
 decode_results results;
 void setup()
 {
  Serial.begin(9600);
  irrecv.enableIRIn(); // Start the receiver
 }
 void loop()
 {
  if (irrecv.decode(&results))
  {
   Serial.println(results.value, DEC); // Print the Serial ‘results.value’
   irrecv.resume(); // Receive the next value
  }
 }
Circuit
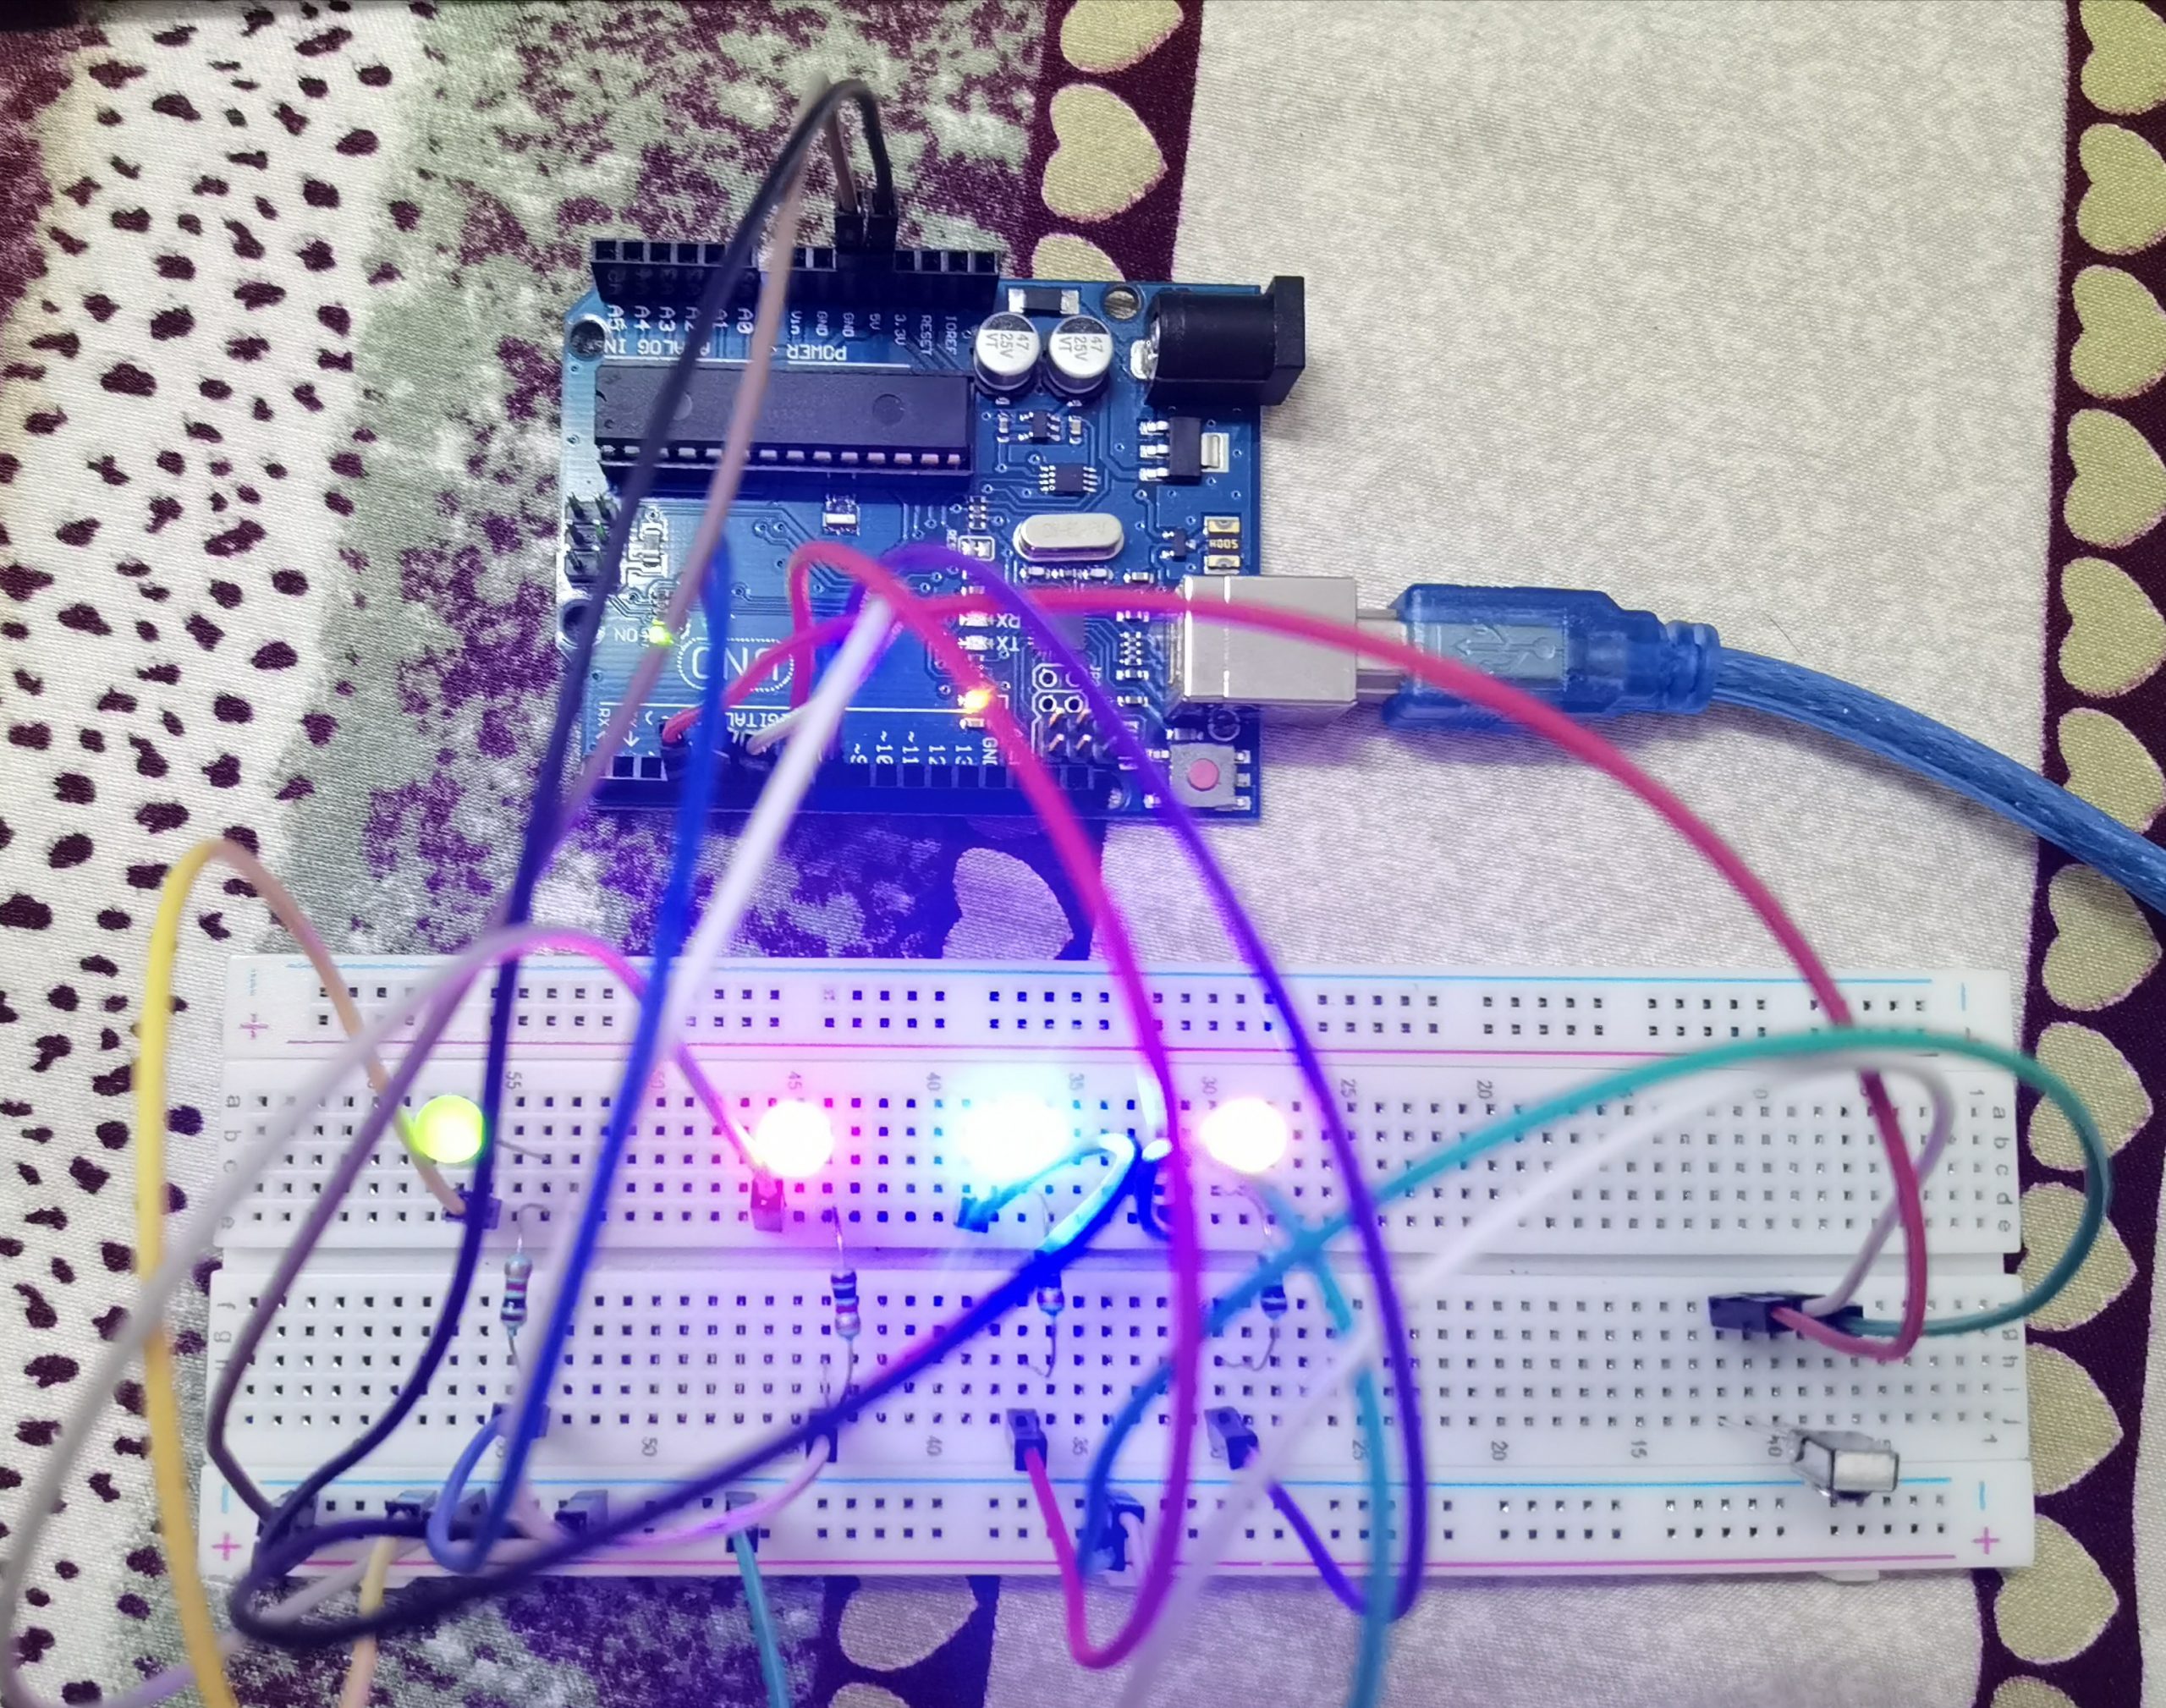
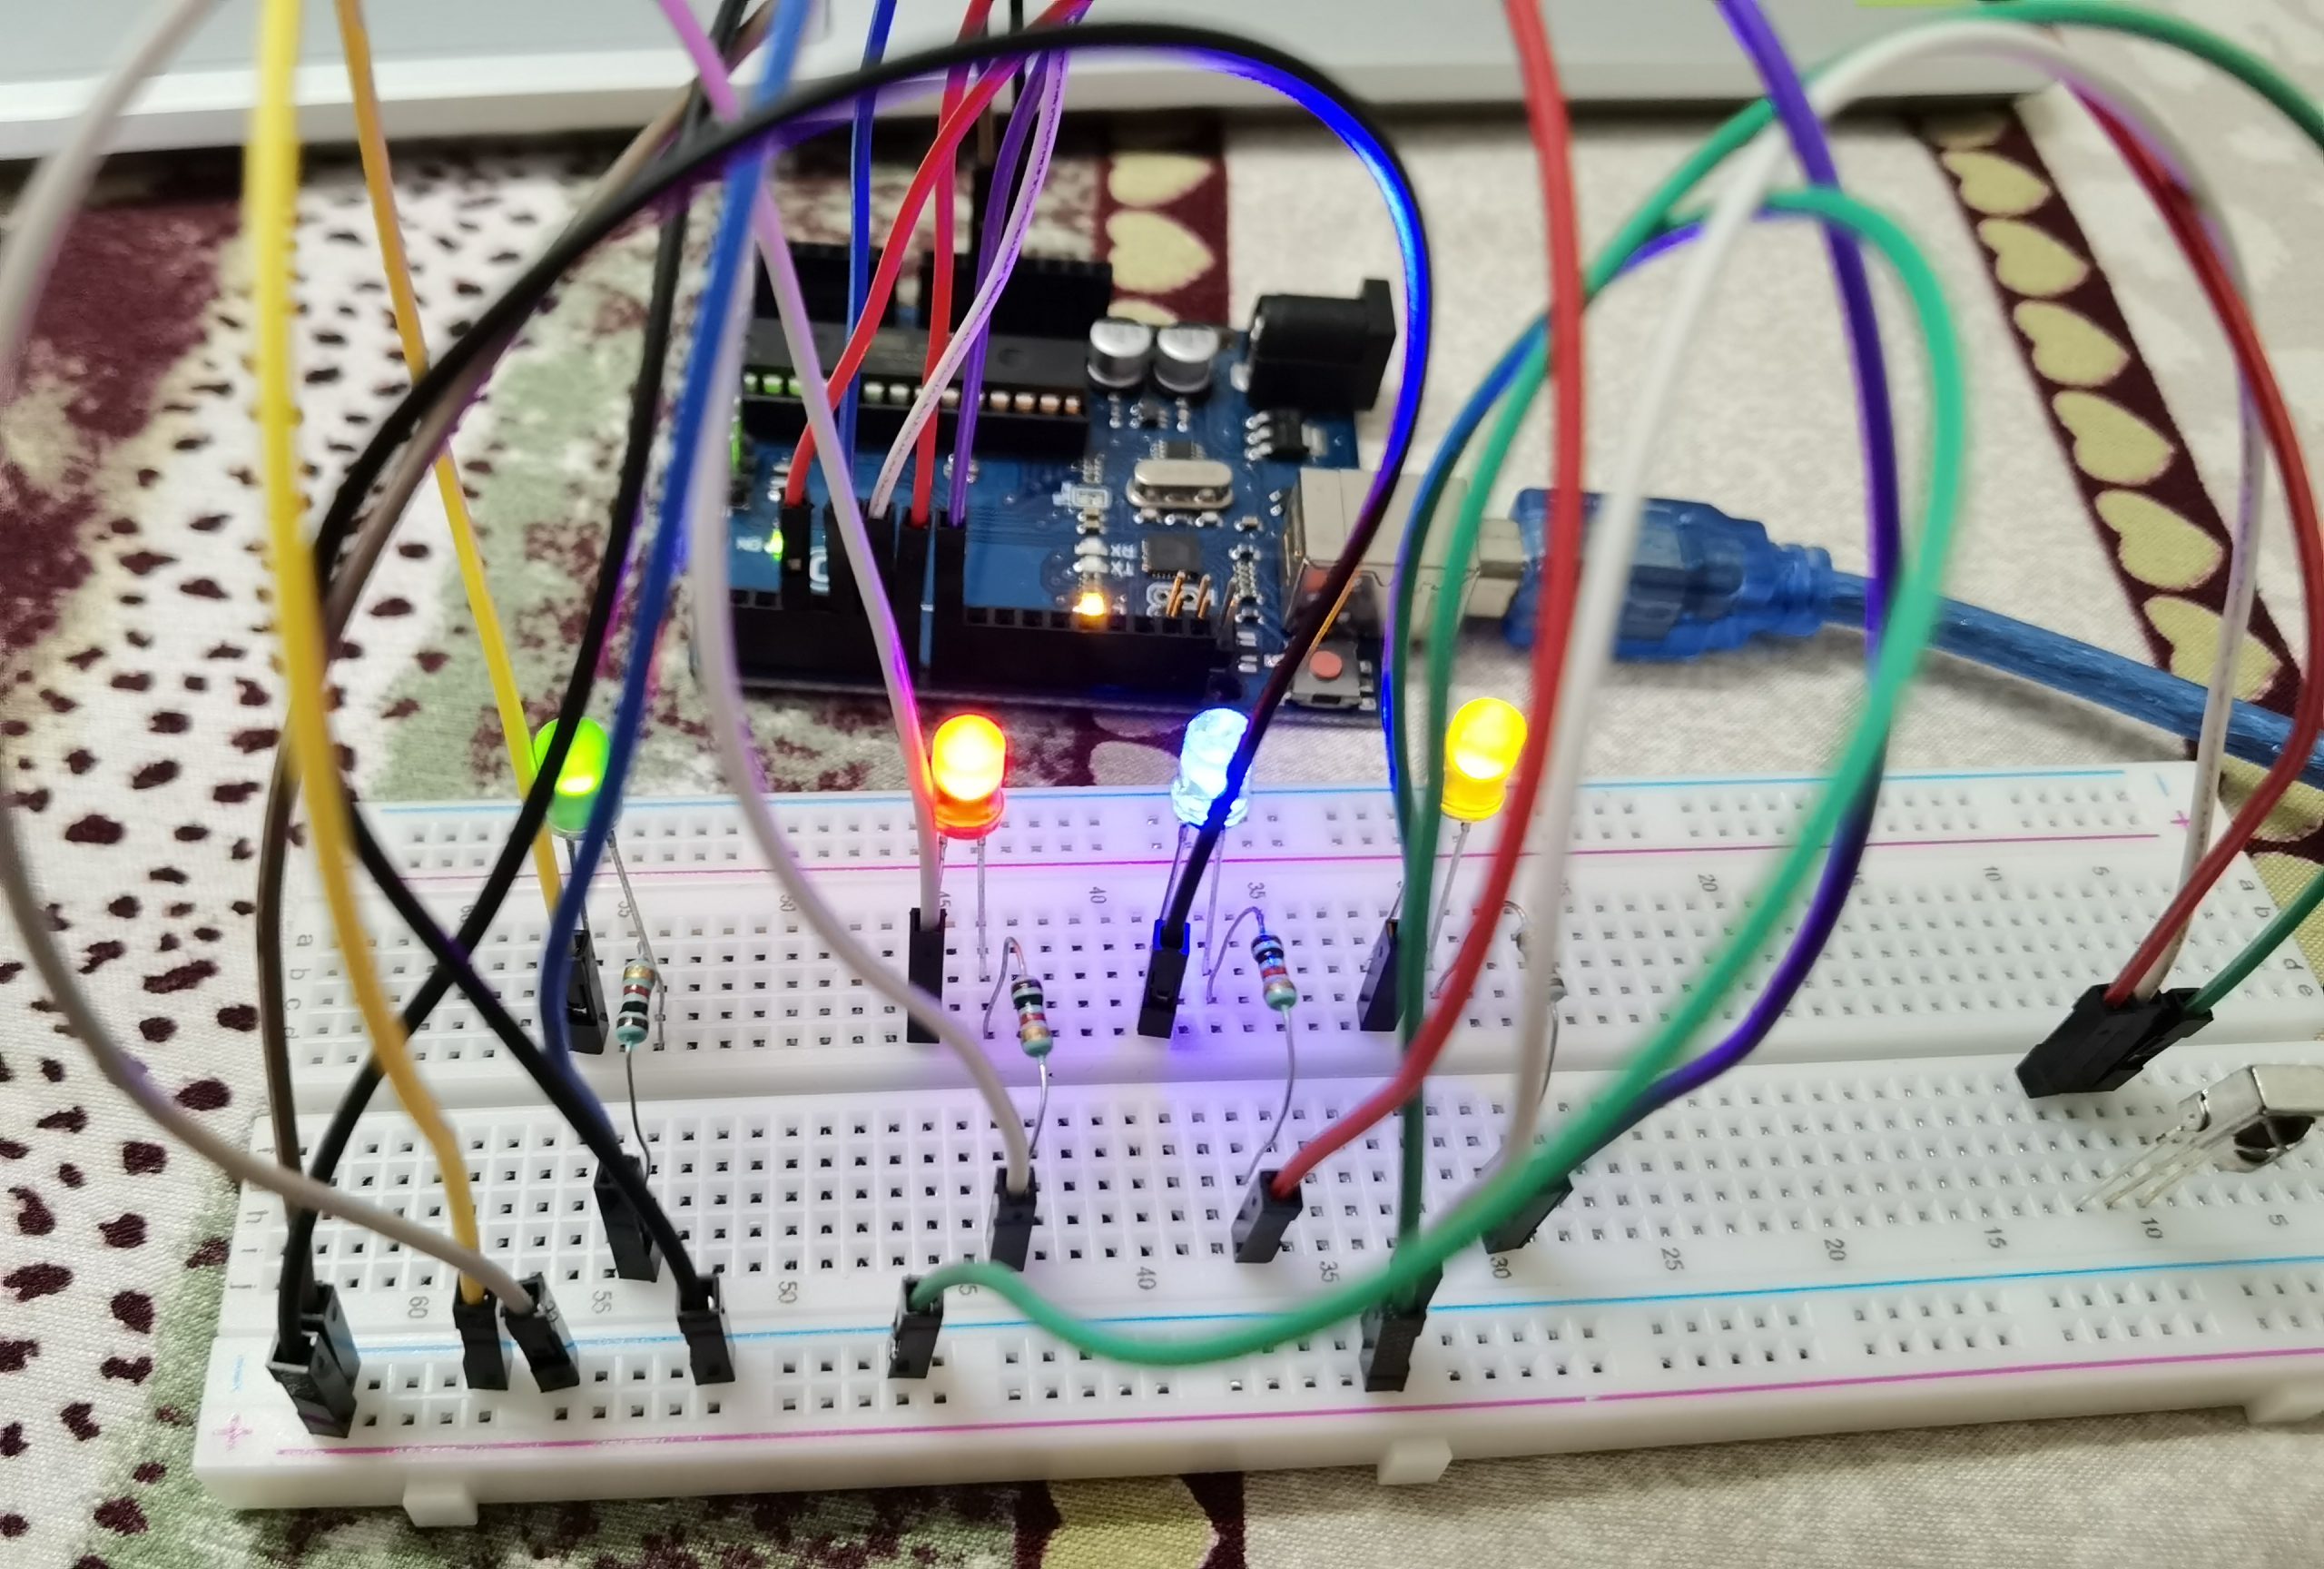
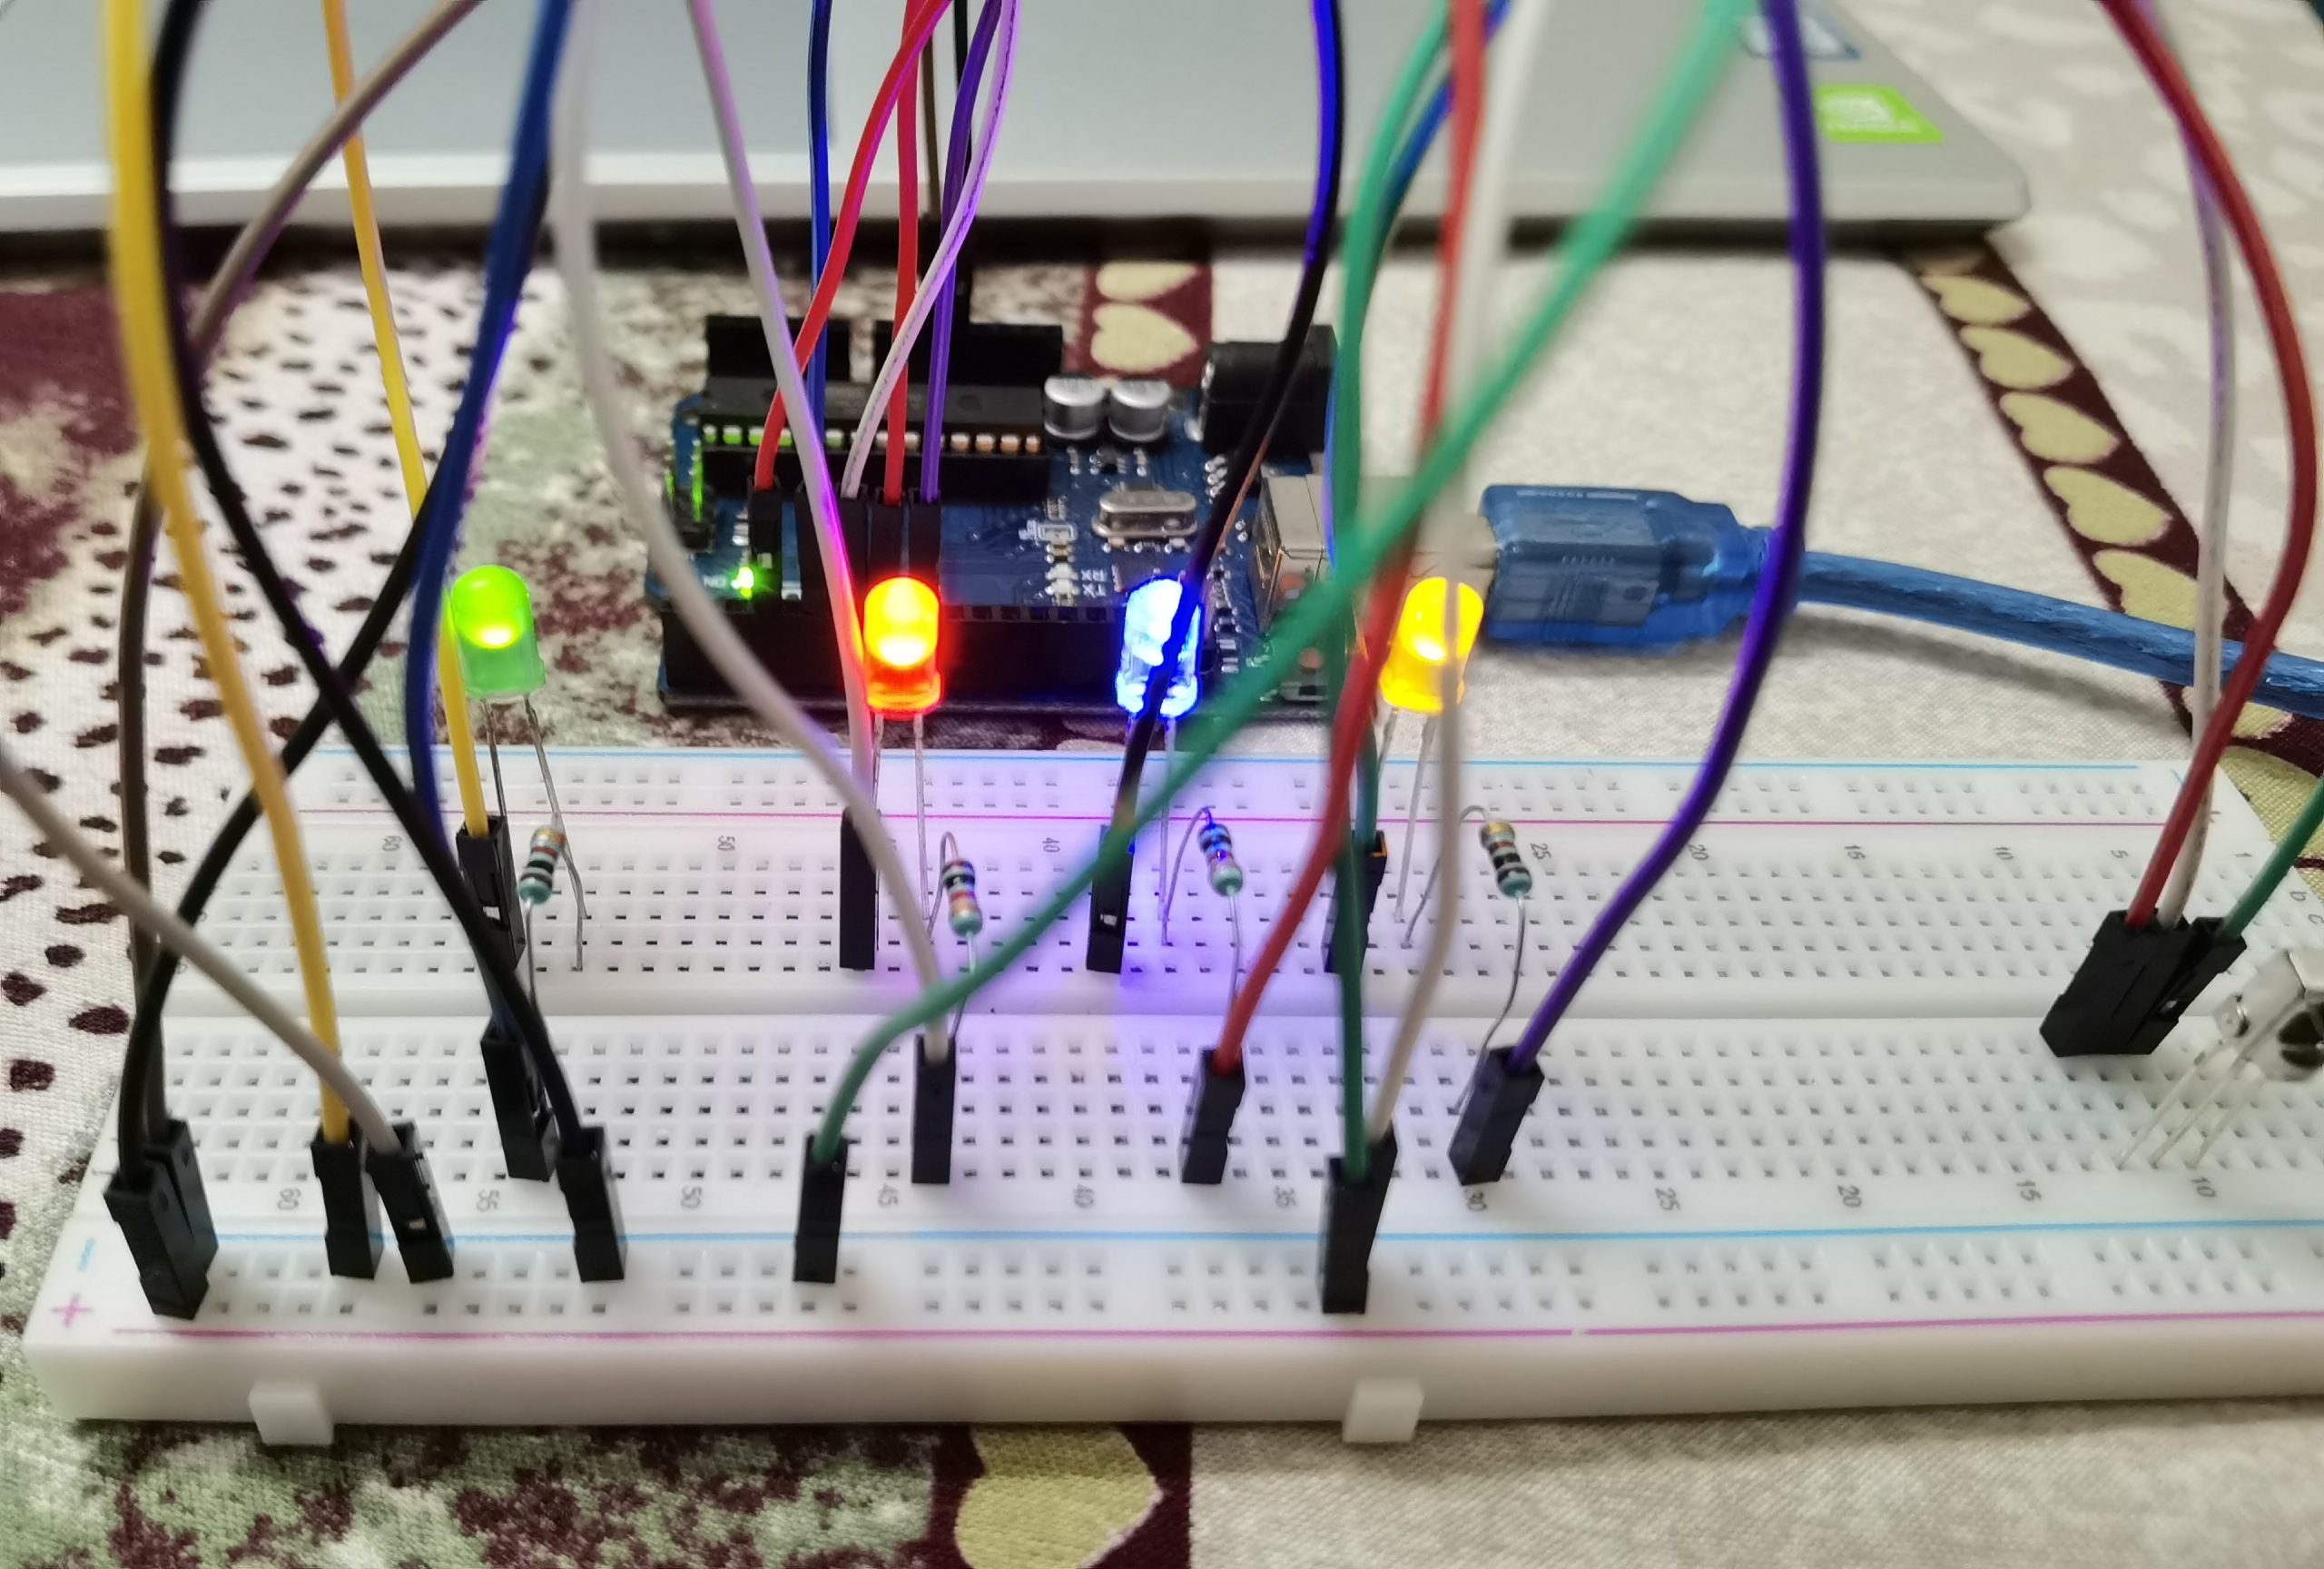
Circuit Diagram

Code
 #include <IRremote.h>
 int RECV_PIN = 3; //This Pin should be PWM
 IRrecv irrecv(RECV_PIN);
 decode_results results;
 void setup()
 {
  Serial.begin(9600);
  irrecv.enableIRIn(); // Start the receiver
  pinMode(5, OUTPUT);
  pinMode(6, OUTPUT);
  pinMode(7, OUTPUT);
  pinMode(8, OUTPUT);
 }
 void loop() {
  if (irrecv.decode(&results)) {
   switch (results.value)
   {
    case 33444015: Serial.println("1"); // Button 1
     digitalWrite(5, HIGH);
     break;
    case 33478695: Serial.println("2"); // Button 2
     digitalWrite(5, LOW);
     break;
    case 33486855: Serial.println("3"); // Button 3
     digitalWrite(6, HIGH);
     break;
    case 33435855: Serial.println("4"); // Button 4
     digitalWrite(6, LOW);
     break;
    case 33468495: Serial.println("5"); // Button 5
     digitalWrite(7, HIGH);
     break;
    case 33452175: Serial.println("6"); // Button 6
     digitalWrite(7, LOW);
     break;
    case 33423615: Serial.println("7"); // Button 7
     digitalWrite(8, HIGH);
     break;
    case 33484815: Serial.println("8"); // Button 8
     digitalWrite(8, LOW);
     break;
    default: Serial.println(results.value);
   }
   irrecv.resume(); // Receive the next value
  }
 }
